
 Welcome to Torrey Pines Gulls
Chuckeron
Chuck Glider Conversion to RC Pitcheron
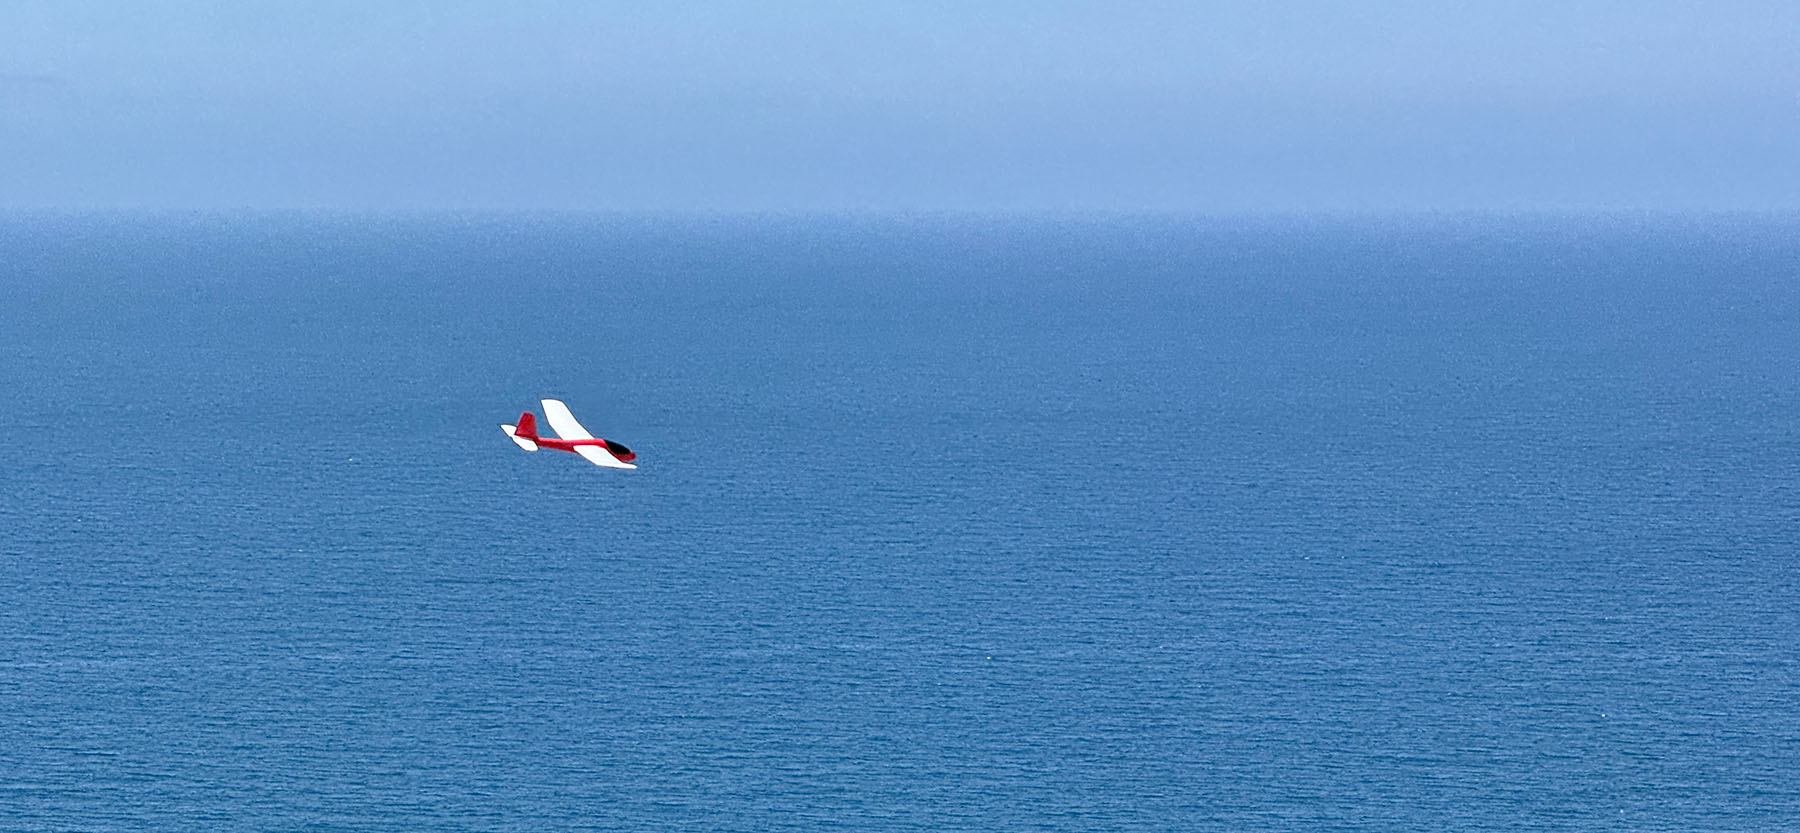
This page includes instructions for building a cheap and durable RC pitcheron glider that works great as a slope airplane. It can cost less than $60 and can be assembled in less than 2 hours. It requires a few 3D printed parts and only a few other parts and basic tools. But first, watch the video to see how this performs.
Parts List
| Foam Chuck Glider Toy with 86cm (34") wingspan | $20 | Amazon |
| Two 9g Metal Gear Servos | $6 | Amazon |
| Two 1.3mm pushrod connectors | $2 | Amazon |
| Two M3 x 16mm Screws | $0.02 | Amazon |
| Two 1/4 Washers (0.73" OD, 0.32" ID, 0.06") | $0.40 | Home Depot |
| Four 6mm x 3mm Magnets | $0.20 | Amazon |
| Two 8mm x 200mm carbon fiber tubes | $5.00 | Amazon |
| 3D printed parts | $3 | Download |
| Small battery of your choice (2S Lipo or 4.8V NiMH recommended) | varies | |
| Receiver of your choice | varies | |
| Total: | $37 + electronics | |
If you do not have access to a 3D printer, ask around in the Discord Chat. There are several members who would be happy to print some parts.
Instructions
- Download the files for the 4 printed parts. These are licensed under a Creative Commons BY 4.0 license.
-
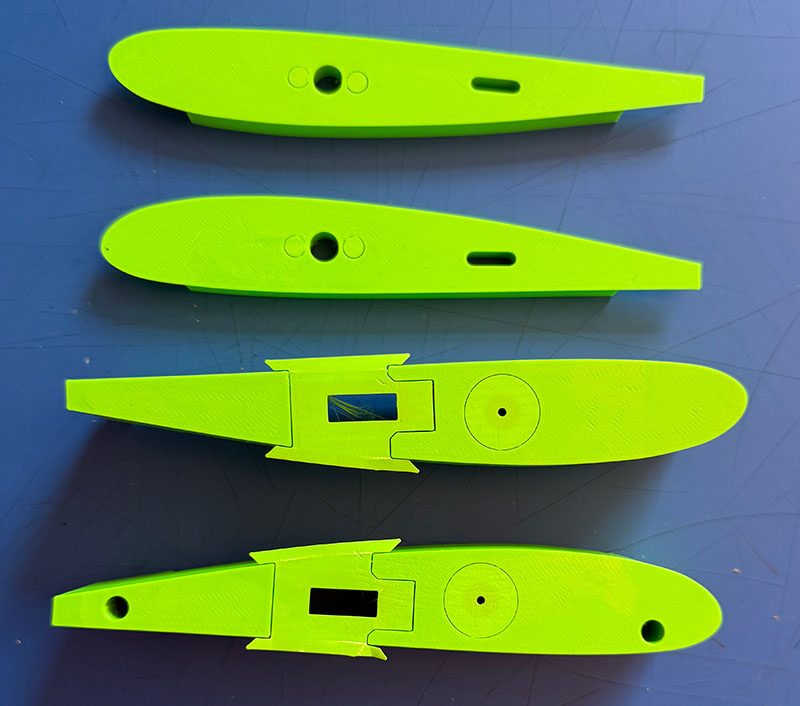
Load the parts into your 3D printer and orient them so the flat parts are facing down on the build plate. On a Bambu X1C it takes 2.75 hours and $2-3 worth of plastic. The recommended material is ASA for it's heat and UV resistance, but PETG works well too.
Recommended printer settings:
- Supports turned on
- Print one part at a time instead of all parts simultaneously
- 15% infill
- 2-3 wall loops / perimeters
- 4-5 shell layers
-
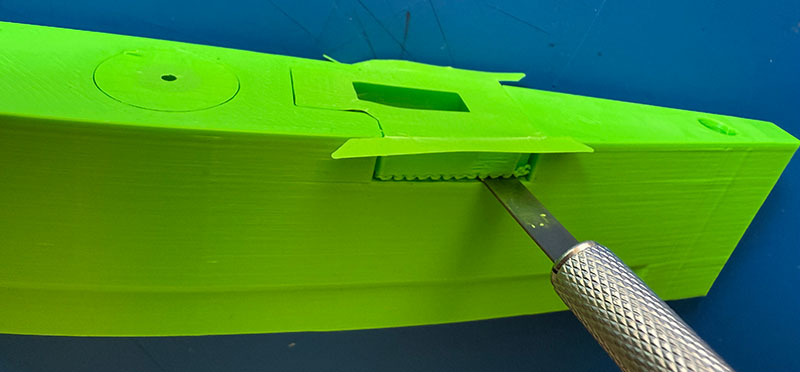
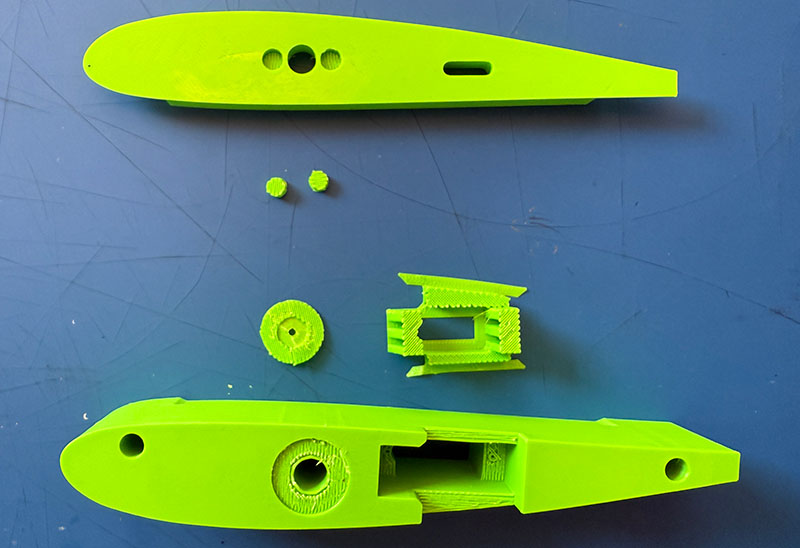
Remove the supports from the 3D printed parts. They should pop off with a little persuasion. The larger hub pieces have 2 supports that need to be removed and the smaller wing connectors have two tiny circles to remove.
-
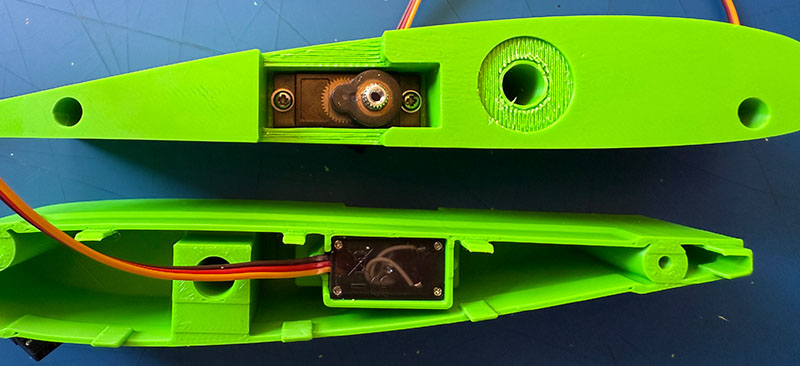
Insert the servos into the hub pieces. Note the orientation and take care that the wires are not pinched as you push it in. The servo should be pushed in as far as possible and then screwed down.
-
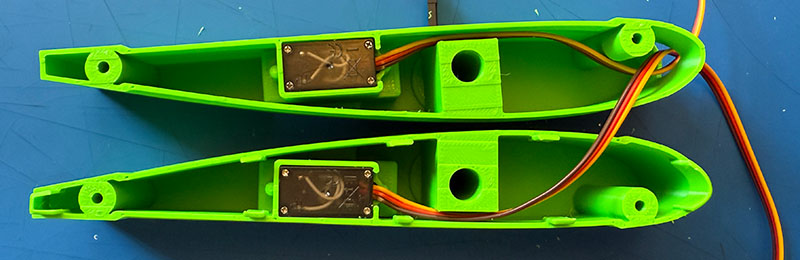
Thread the servo wires through the slot and then through the hole in the leading edge of the hub.
-
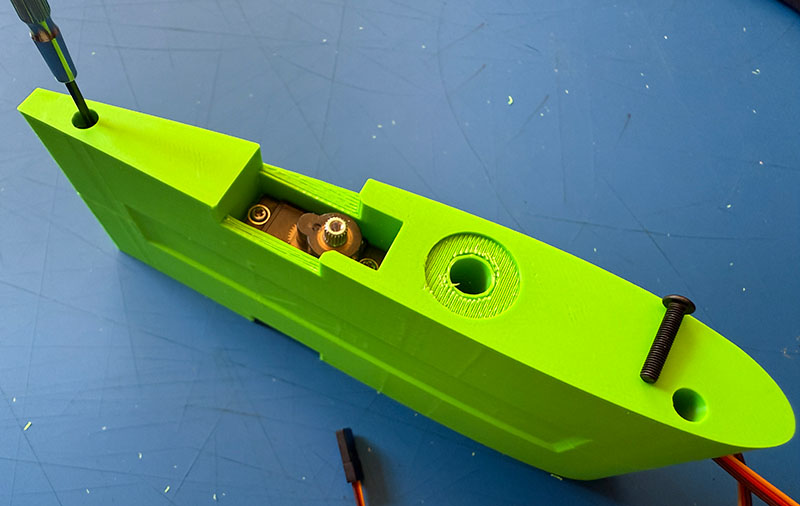
Fit the two halves together and then use the M3 x 16mm screws to fasten them. The screws will self tap into the holes.
-
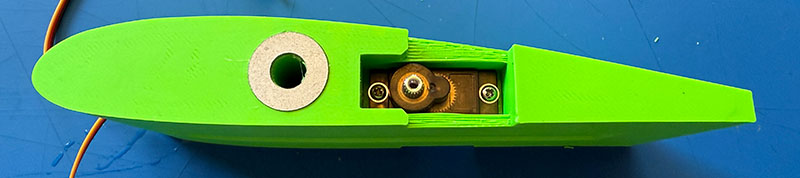
Install the 1/4 washers with some thick CA, E6000, or other appropriate glue.
-
Attach the pushrod connectors to the servo arms. You will need to enlarge the second hole with a 5/64" (2mm) drill bit.
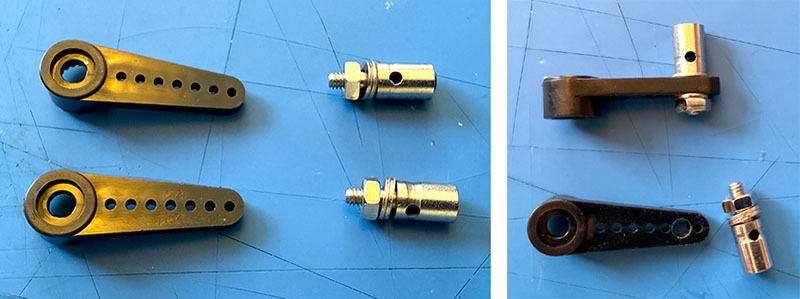
-
Temporarily connect your receiver and battery and center your servos. Then attach the servo arms.
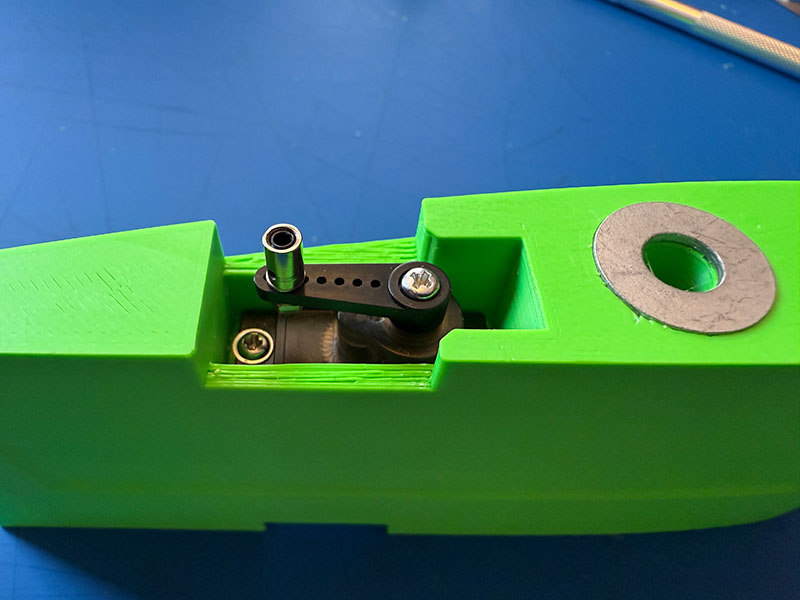
-
Note the depth of the servo arm and servo arm locking screw. It shouldn't be sticking out past the edge of the plastic. If it is, the servo is not seated fully or the servo arm is not pressed in firmly enough.
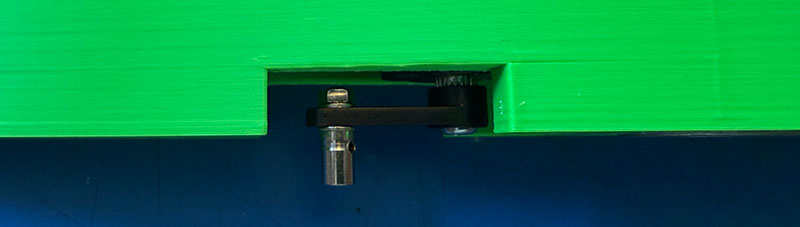
-
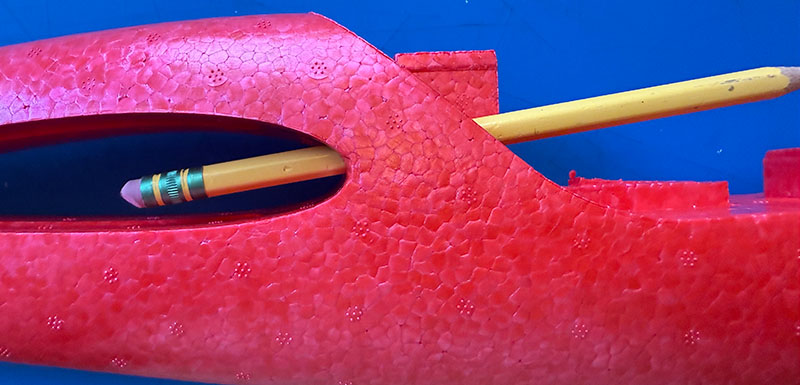
Pull the black canopy piece off of the fuselage and set aside. Drill a hole from the cockpit area to the cavity where the wing will sit.
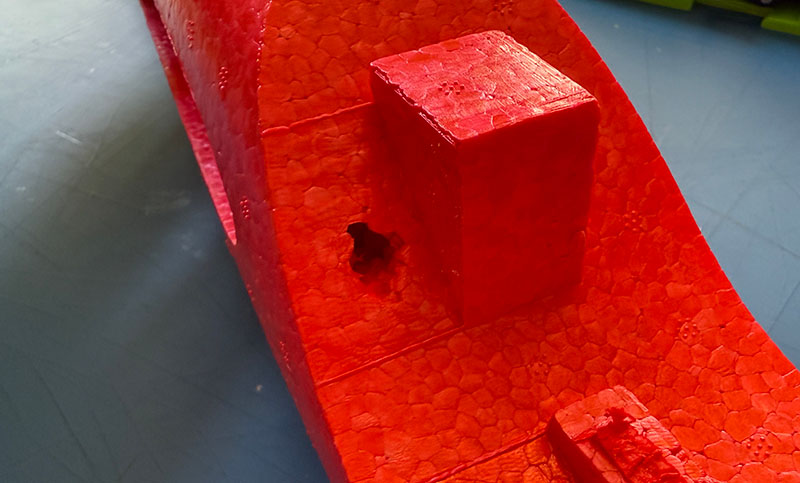
-
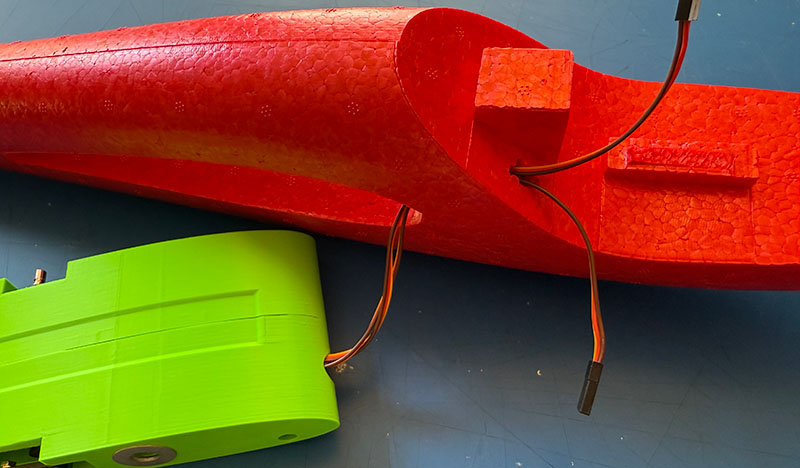
Thread both servo wires through the hole from the wing side towards the front.
-
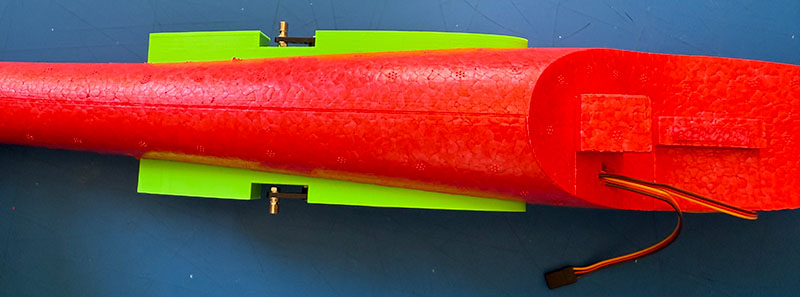
Insert the assembled hub into the fuselage and carefully pull the wires through the hole. Center the hub.
-
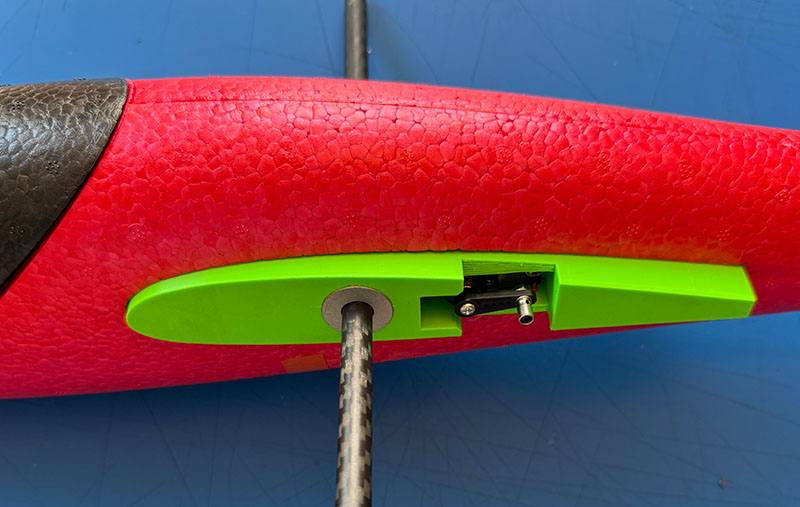
Cut the 8mm carbon fiber spars to length (15-20cm), and insert into them into the holes. They should go in smoothly at first and then tighten up when pressed all the way in.
-
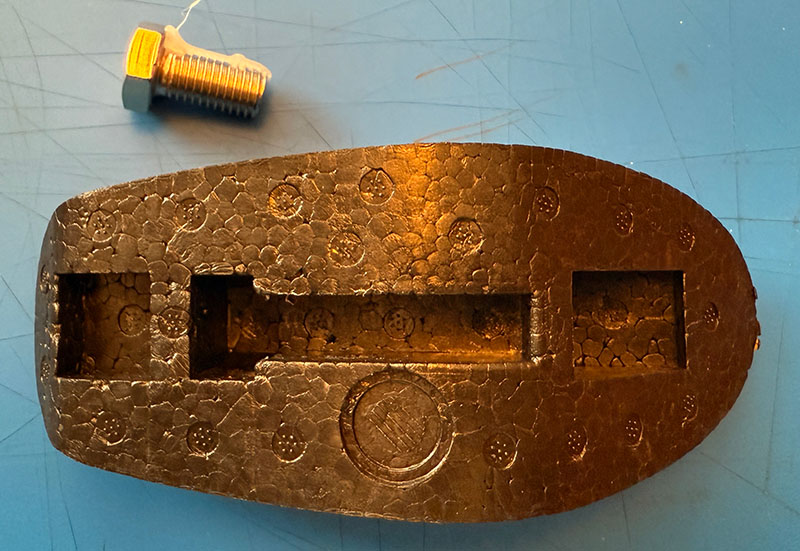
Pop the large bolt out of the black canopy piece that was used for CG and discard. You will only need a little nose weight for CG at the end.
-
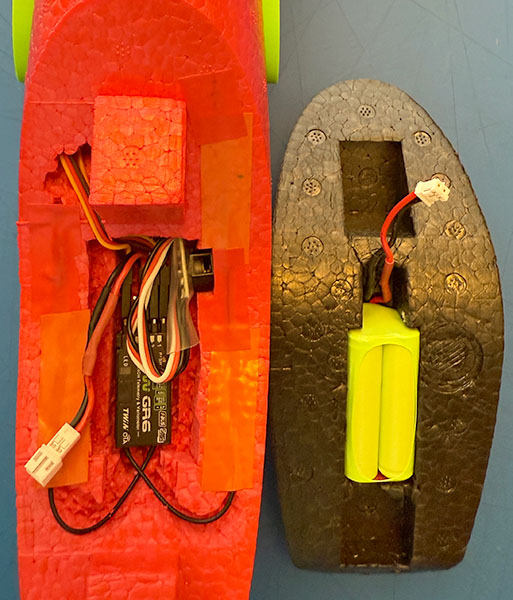
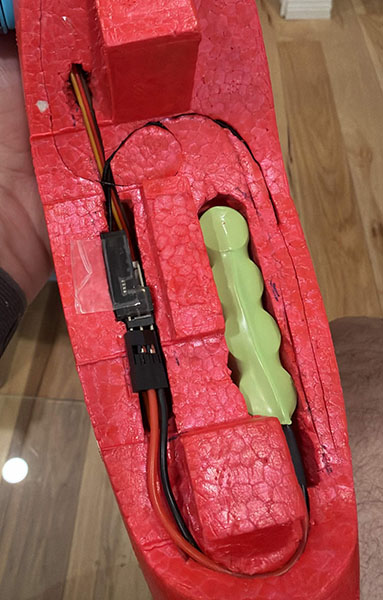
Using a sharp blade, carve out space for your receiver and battery and install the electronics. Here are some examples of how you may do this. Try to get the weight towards the front, if possible. If you are using the recommended servos, they get flaky around 3.8 volts, so a 1S Lipo is not recommended unless you play it very safe. A 2S Lipo is better and a 4.8v NiMH 4 pack also works great.
-
The fuselage is complete. Now we turn our attention towards the wings.
-
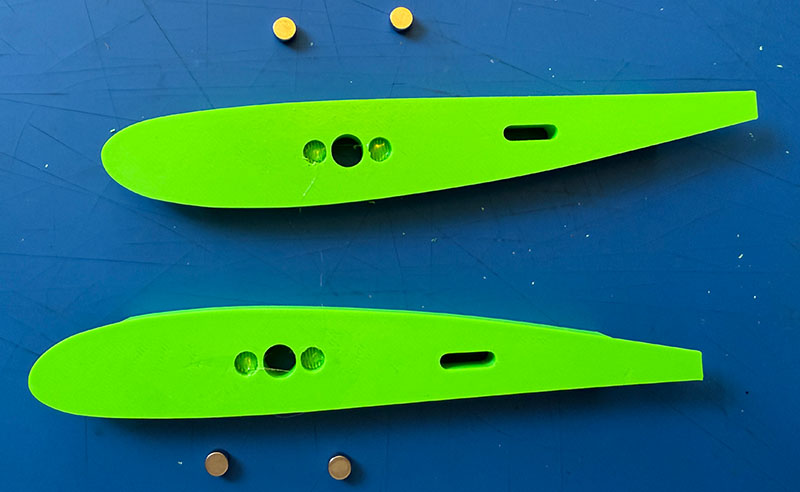
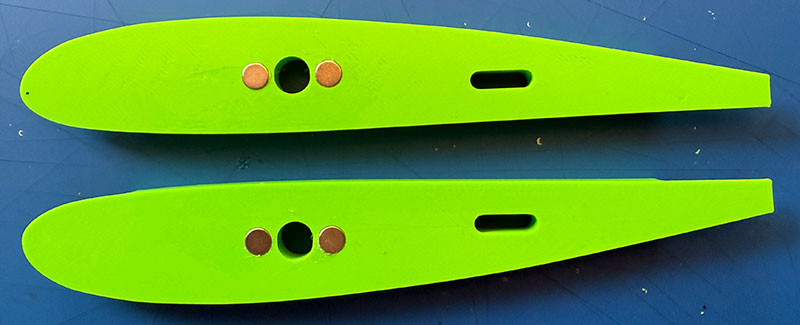
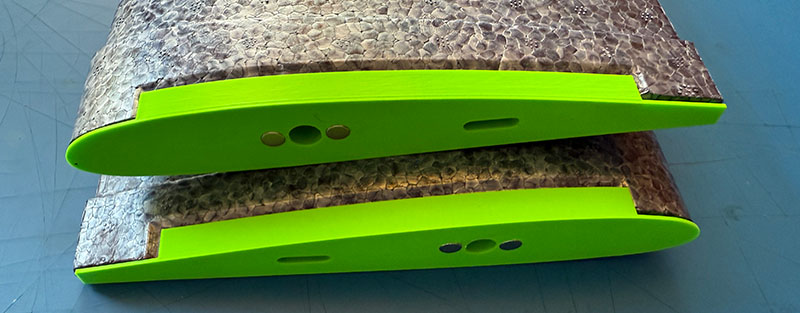
Glue the small 6mm x 3mm magnets into the holes on the plastic wing connector pieces. Use thick CA, E6000 or some other appropriate glue.
-
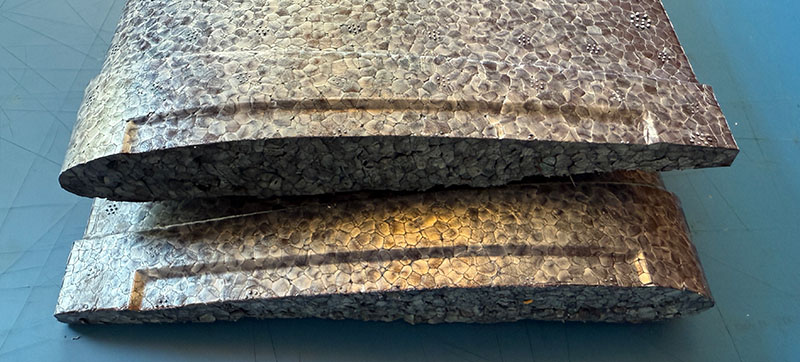
Measure twice and then using a sharp blade, cut the wing in half, right down the middle.
-
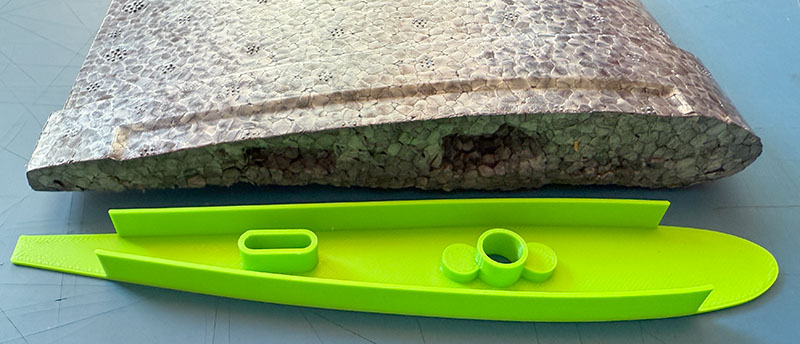
Carefully cut away holes on the edges of the wings to allow the wing connectors to fit flush.
-
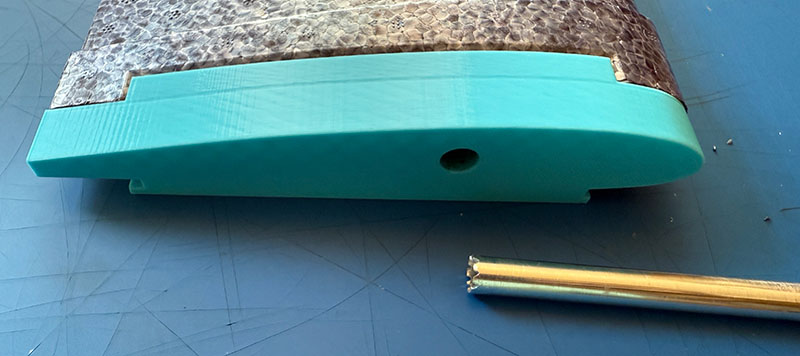
Drill a hole in each wing for the carbon fiber spar. It is important that the hole be aligned with the hole in the wing connector and be straight in all directions. A jig is available to make it easier (seen here in blue). The jig can be 3D printed. You can use a regular drill bit, or fashion one from a 9mm OD aluminum tube with some teeth filed into it. Chuck this into you cordless drill and it works great. Both the jig and drill bit are available for club members to borrow. Ask around.
-
The wing connectors should now fit flush to the root ends of the wings. Glue them on with a strong foam safe adhesive. E6000 seems to work well. Foam-Tac would also be a good choice. Hot glue also works as long as its not the super hot variety, which will melt the foam.
-
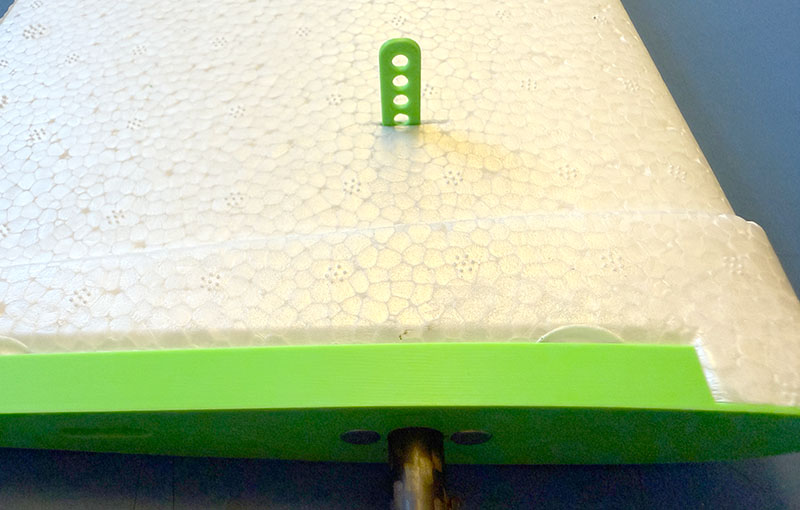
Cut a slot in the underside of the wing for the small plastic bearing. It should be inline with the carbon fiber rod and about 1cm shy of the end. Insert the bearing into the slot (both wings).
-
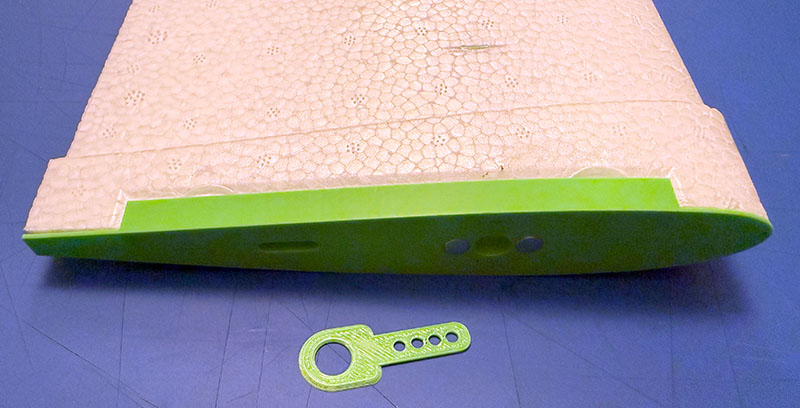
Connect the wings, get the carbon spar to go through the bearing. Make sure it rotates smoothly. When everything is aligned the way you want, drop some foam glue into the slots to set the bearings in place.
-
Score the bearing handles and snap off flush.
-
The wings are now complete.
-
Optional tow-hook: If you want to bungee launch your new Chuckeron, you can attach the tow-hook piece. Start with the base of the hook 5.2cm from the leading edge. You can temporarily attach the hook with strong tape or hot glue. When you have it where you want it, use permanent foam safe glue like E6000 or Foam-Tac.

-
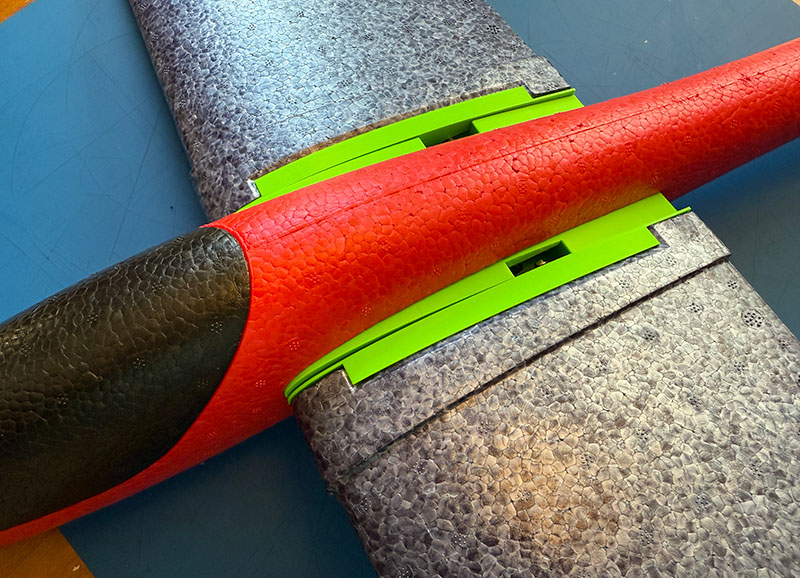
Attach the wings by sliding them over the carbon rod and aligning the protruding servo arm with the plastic slot on the wing. The magnets will hold the wing on.
-
Program your radio and you are off to the slopes!
- Flying weight: ~300g
- CG: 6cm back from leading edge
- Wingspan: 93cm