
 Welcome to Torrey Pines Gulls
Foam Pitcheron Conversion
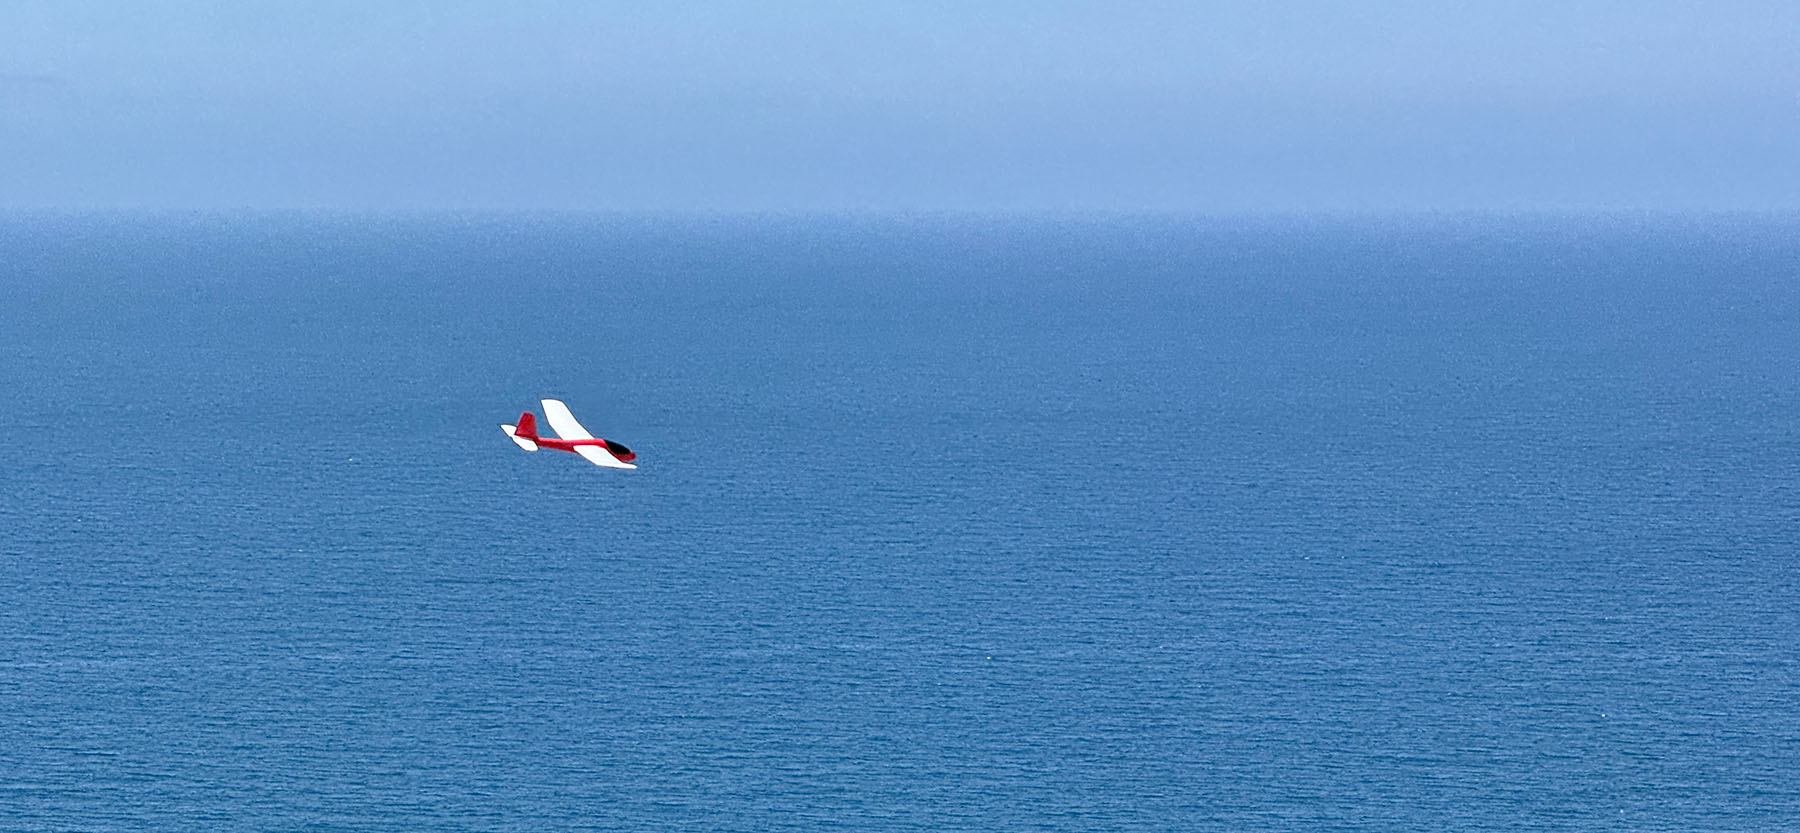
This page includes instructions for building a cheap and durable RC pitcheron glider that works great as a slope airplane. You can also easily attach a hook and launch it via a bungee. It can cost less than $60 and can be assembled in less than 2 hours. It requires a few 3D printed parts and only a few other parts and basic tools.
Parts List
| Foam Glider Toy with 86cm (34") wingspan | $20 | Amazon |
| Two 9g Metal Gear Servos | $6 | Amazon |
| Two 1.3mm pushrod connectors | $2 | Amazon |
| Two M3 Screws | $0.03 | Amazon |
| Two M3 brass inserts | $0.08 | Amazon |
| 3D printed parts | $2 | Thingiverse |
| Small battery of your choice | $5 | |
| Receiver of your choice | ||
| Total: | $35 + receiver | |
If you do not have access to a 3D printer, ask around in the Discord Chat. There are several members who would be happy to print some parts.
Instructions
Watch the flight video on YouTube from the designer.
3D print the 4 parts. On a Bambu Studio X1C it takes 2 hours and $1.60 worth of plastic.
Melt a 3mm/4.7mm threaded brass insert into the holes on the left and right hub pieces. The easiest way to do this is to use a soldering iron. Put the brass insert into the hole and the put the tip of the soldering iron into the middle of the insert and press it in gently as the plastic melts.
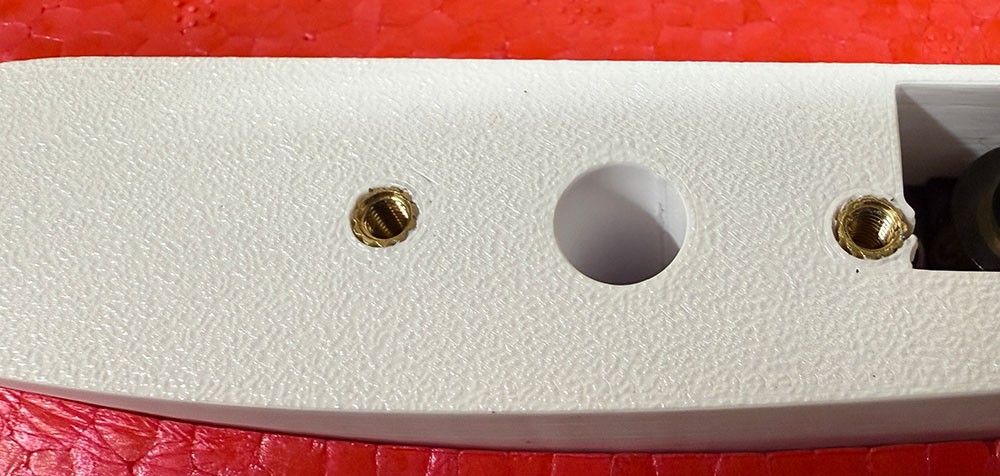
Screw M3 screws with hex round heads into the inserts.
Adjust the screws and test fit the wing pieces. They should twist on and rotate smoothly, but the gap between the two plastic pieces should be small. Maybe 0.5mm.
Once you have figure out the screw positions, use some thread locker or super glue to secure the screws inside the inserts.
Use some grease in the grooves that the screws run through to reduce friction.
Put the servos into their slots and screw them down.
Use a hobby knife to dig out a place for the battery and radio. The ideal spot is underneath the black canopy. This way you can open the canopy, attach your battery and put it back on easily. You will need to drill or carve a hole from the front section that you carve out towards the back where the servos will be.
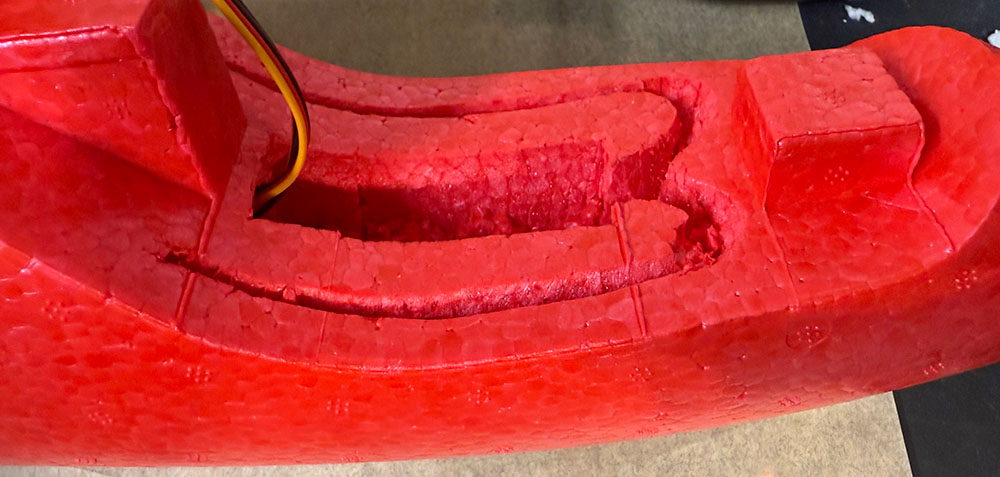
Thread the servo wires threw the hole you carved and into the the hole where the radio will live.
Push the hub pieces into the fuselage and glue in place, taking care to make sure the two pieces are perfectly centered and aligned.
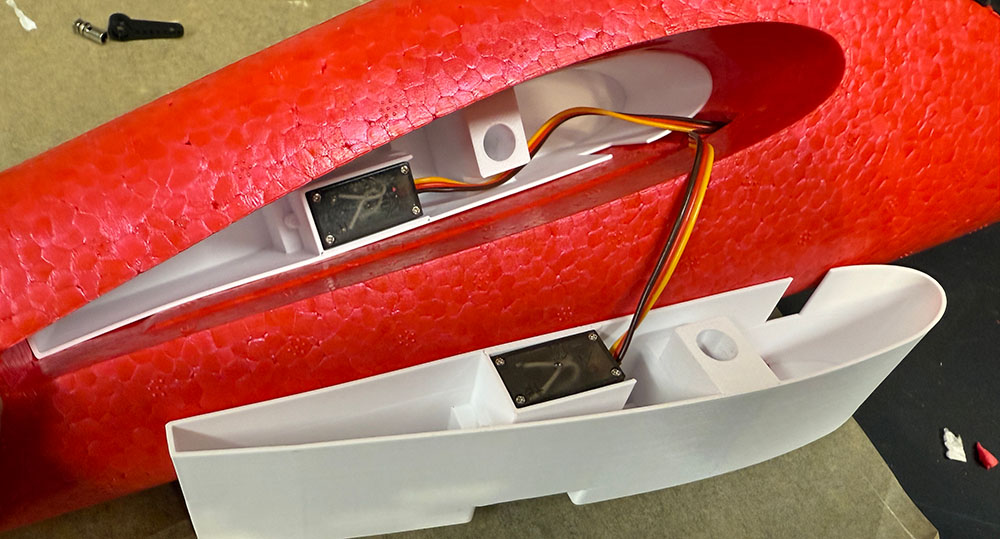
Install your radio and battery and test that the servos move correctly.
Center the servos and fit them with a long arm and 1.3mm servo push rod connector on the outer position.
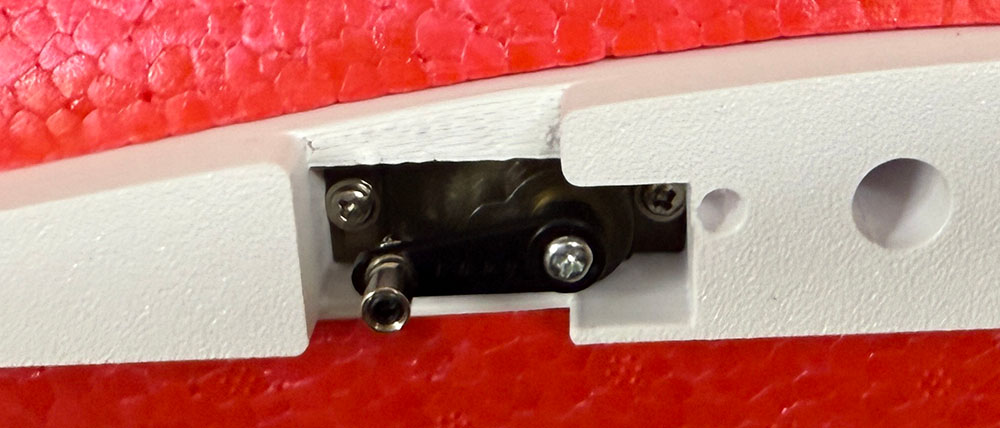
Split the wing in half right at the center.
Use a hobby knife to cut away the freshly cut face of the wing to accomodate the left and right pastic wing pieces.
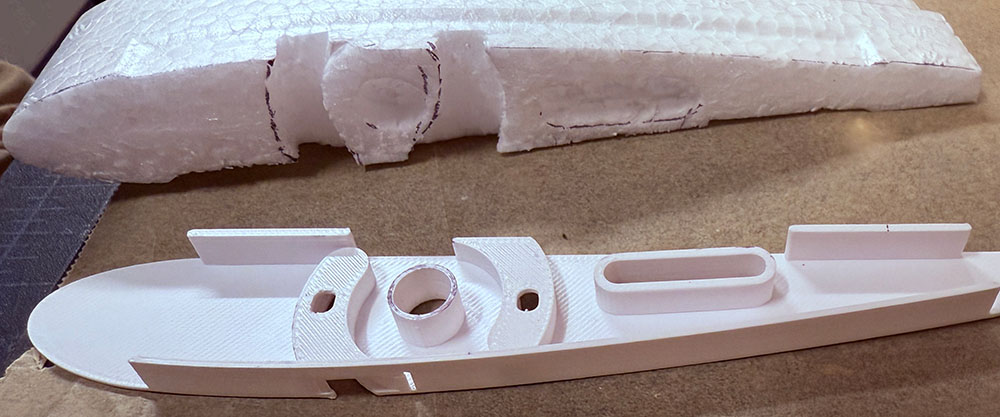
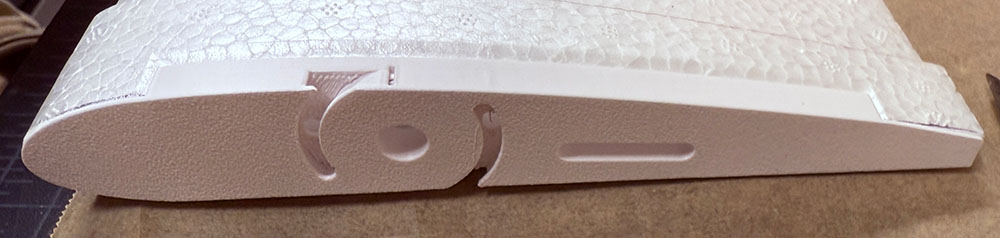
Predrill an 8mm hole into the wing for the spar. Take care that it is aligned.
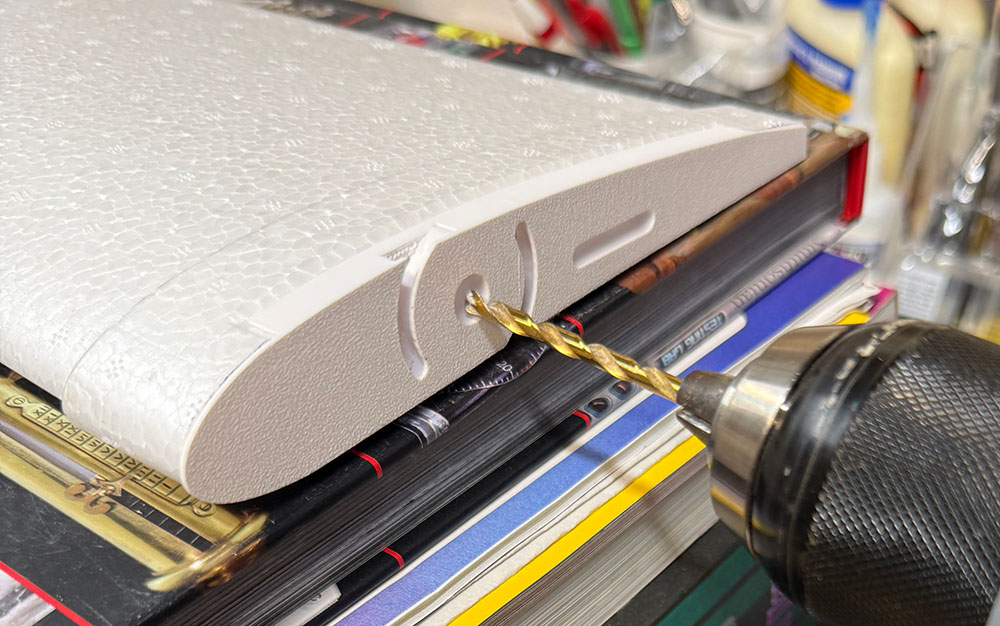
Cut two pieces of 8mm carbon fiber tube. The tubes should insert into the left an right sides of the hub and touch in the middle. They should also go all the way to the end of the holes you drilled in the wings.
Twist the wing pieces onto the hub. Insert the carbon tube. Slide on the wings.
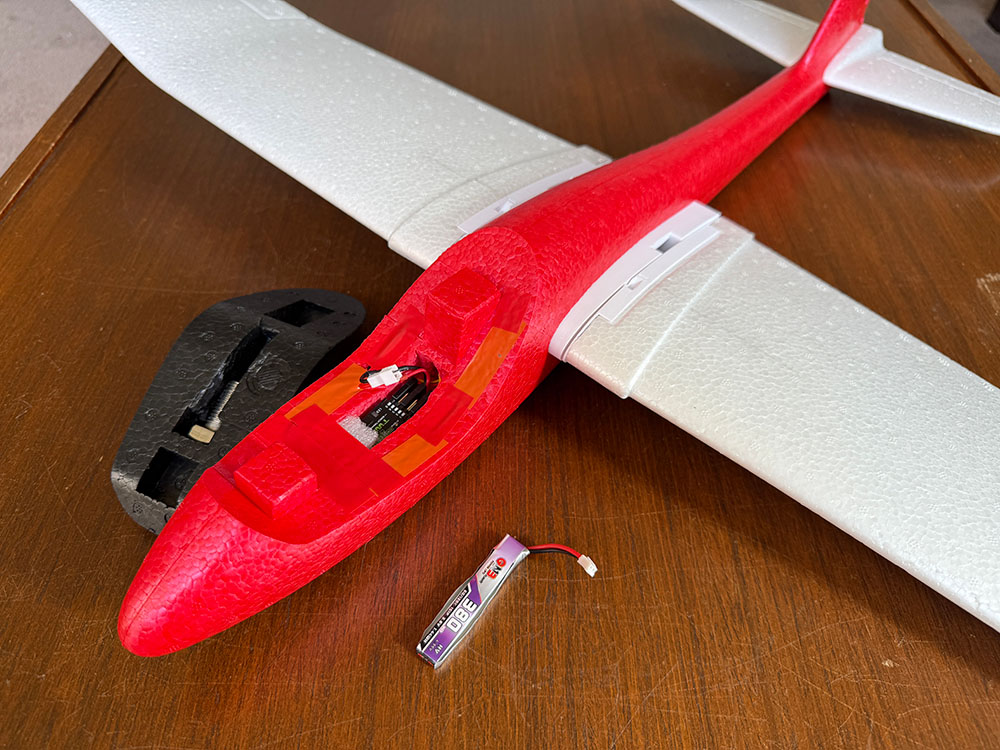
Use electrical tape to keep the wing attached to the plastic wing pieces
Final Measurements
- Flying weight: 300-320g
- Wingspan:
- Wing area:
- Wing loading:
For the Adventerous
Here are two alternative 3D printed designs (one, two) for doing the same thing. Are they better? We wont know until someone tries it out.
Another improvement that someone could make would be to add some dihedral at the center of the wings. This would likely require a fresh CAD design with the servos tilted up a few degrees.